One-pan Pasta with Italian Sausage


Just when I thought life was going to slow down, as it always seemed to do in the fall, our calendars stayed full. In addition to our activities, I’ve changed jobs in the time since my last post. I’d been with my previous company for eight years and it was time to move on, but still, big life changes are always daunting. The good news is that I’ve been at my new job for a couple of weeks now, and I absolutely love it.

It seemed appropriate to cap off our first really chilly weekend with a nice, comforting bowl of pasta. To be fair, a bowl of pasta always sounds nice to me, but this one is extra perfect for warming up on a cold night. The bonus is it’s prepped, cooked, and ready to eat in less than an hour, so it’s perfect for week nights too. 

You can find the original recipe over at Damn Delicious. They call it a one-pot lasagna, but I made the mistake of telling my husband we were having lasagna for dinner the first time I made it and learned he was more than a little disappointed that it wasn’t actually a traditional lasagna. He loves it, but felt it was misleading to call it a lasagna, hence the title of this post. Whatever you want to call it, it’s amazing.


I followed the recipe the first time, but this time I took a few liberties based on what I had in my pantry:

  1. I used 1 lb. of ground Italian sausage instead of the 3 links. We both agreed we’d like it a tad meatier the last time I made it, plus you grind the links anyway, so it works out.
  2. I didn’t have diced tomatoes, so I subbed a 14.5 oz can of tomato sauce for a total of 22.5 oz of tomato sauce. Both ways were delicious.
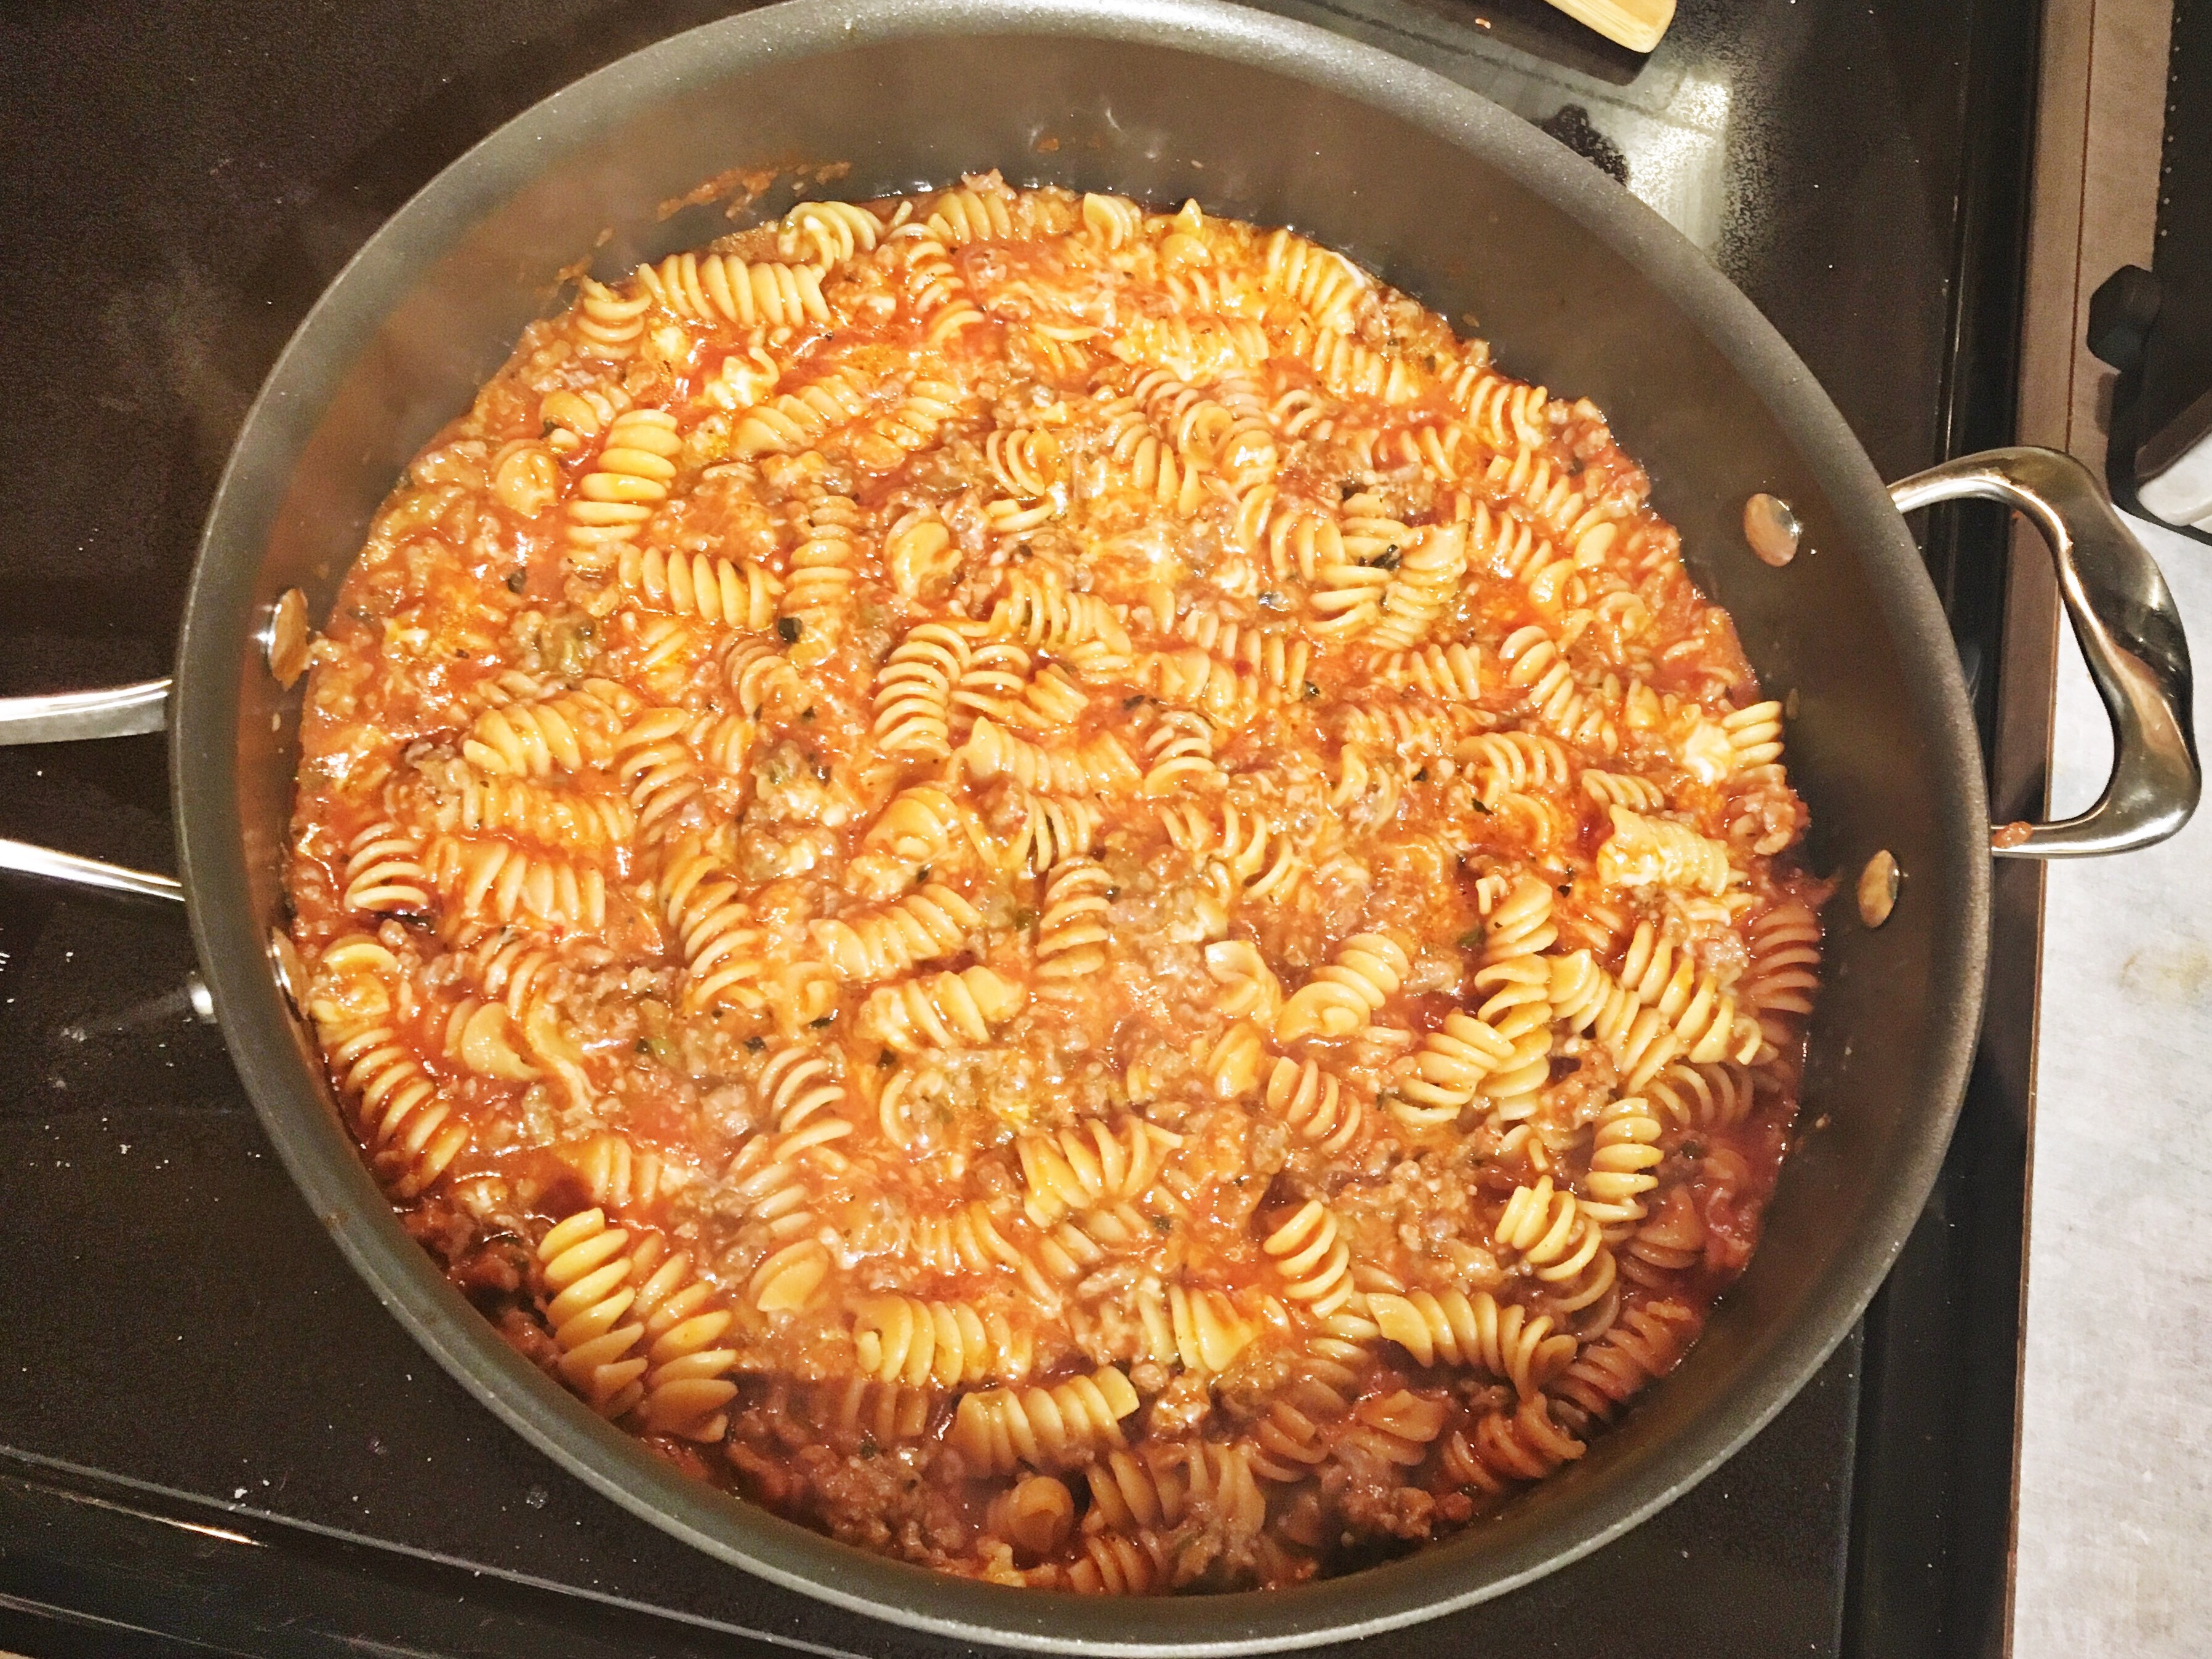
  3. I also didn’t have farfalle, so I used rotini noodles instead. I loved how the meat sauce got into the nooks and crannies of the rotini, but I think you could use a variety of noodles with equal success.
  4. I love cheese, so it’s safe to say I’ve never used just the amount of cheese a recipe calls for in my life. I like to think of them as starting points, so add cheese as desired.

Unfortunately, my job change means I no longer have a laptop I can also use for personal projects and my college laptop is painfully out-of-date, so I’m going to send you back to Damn Delicious for the full scoop rather than try to type the whole thing out via iPhone. 

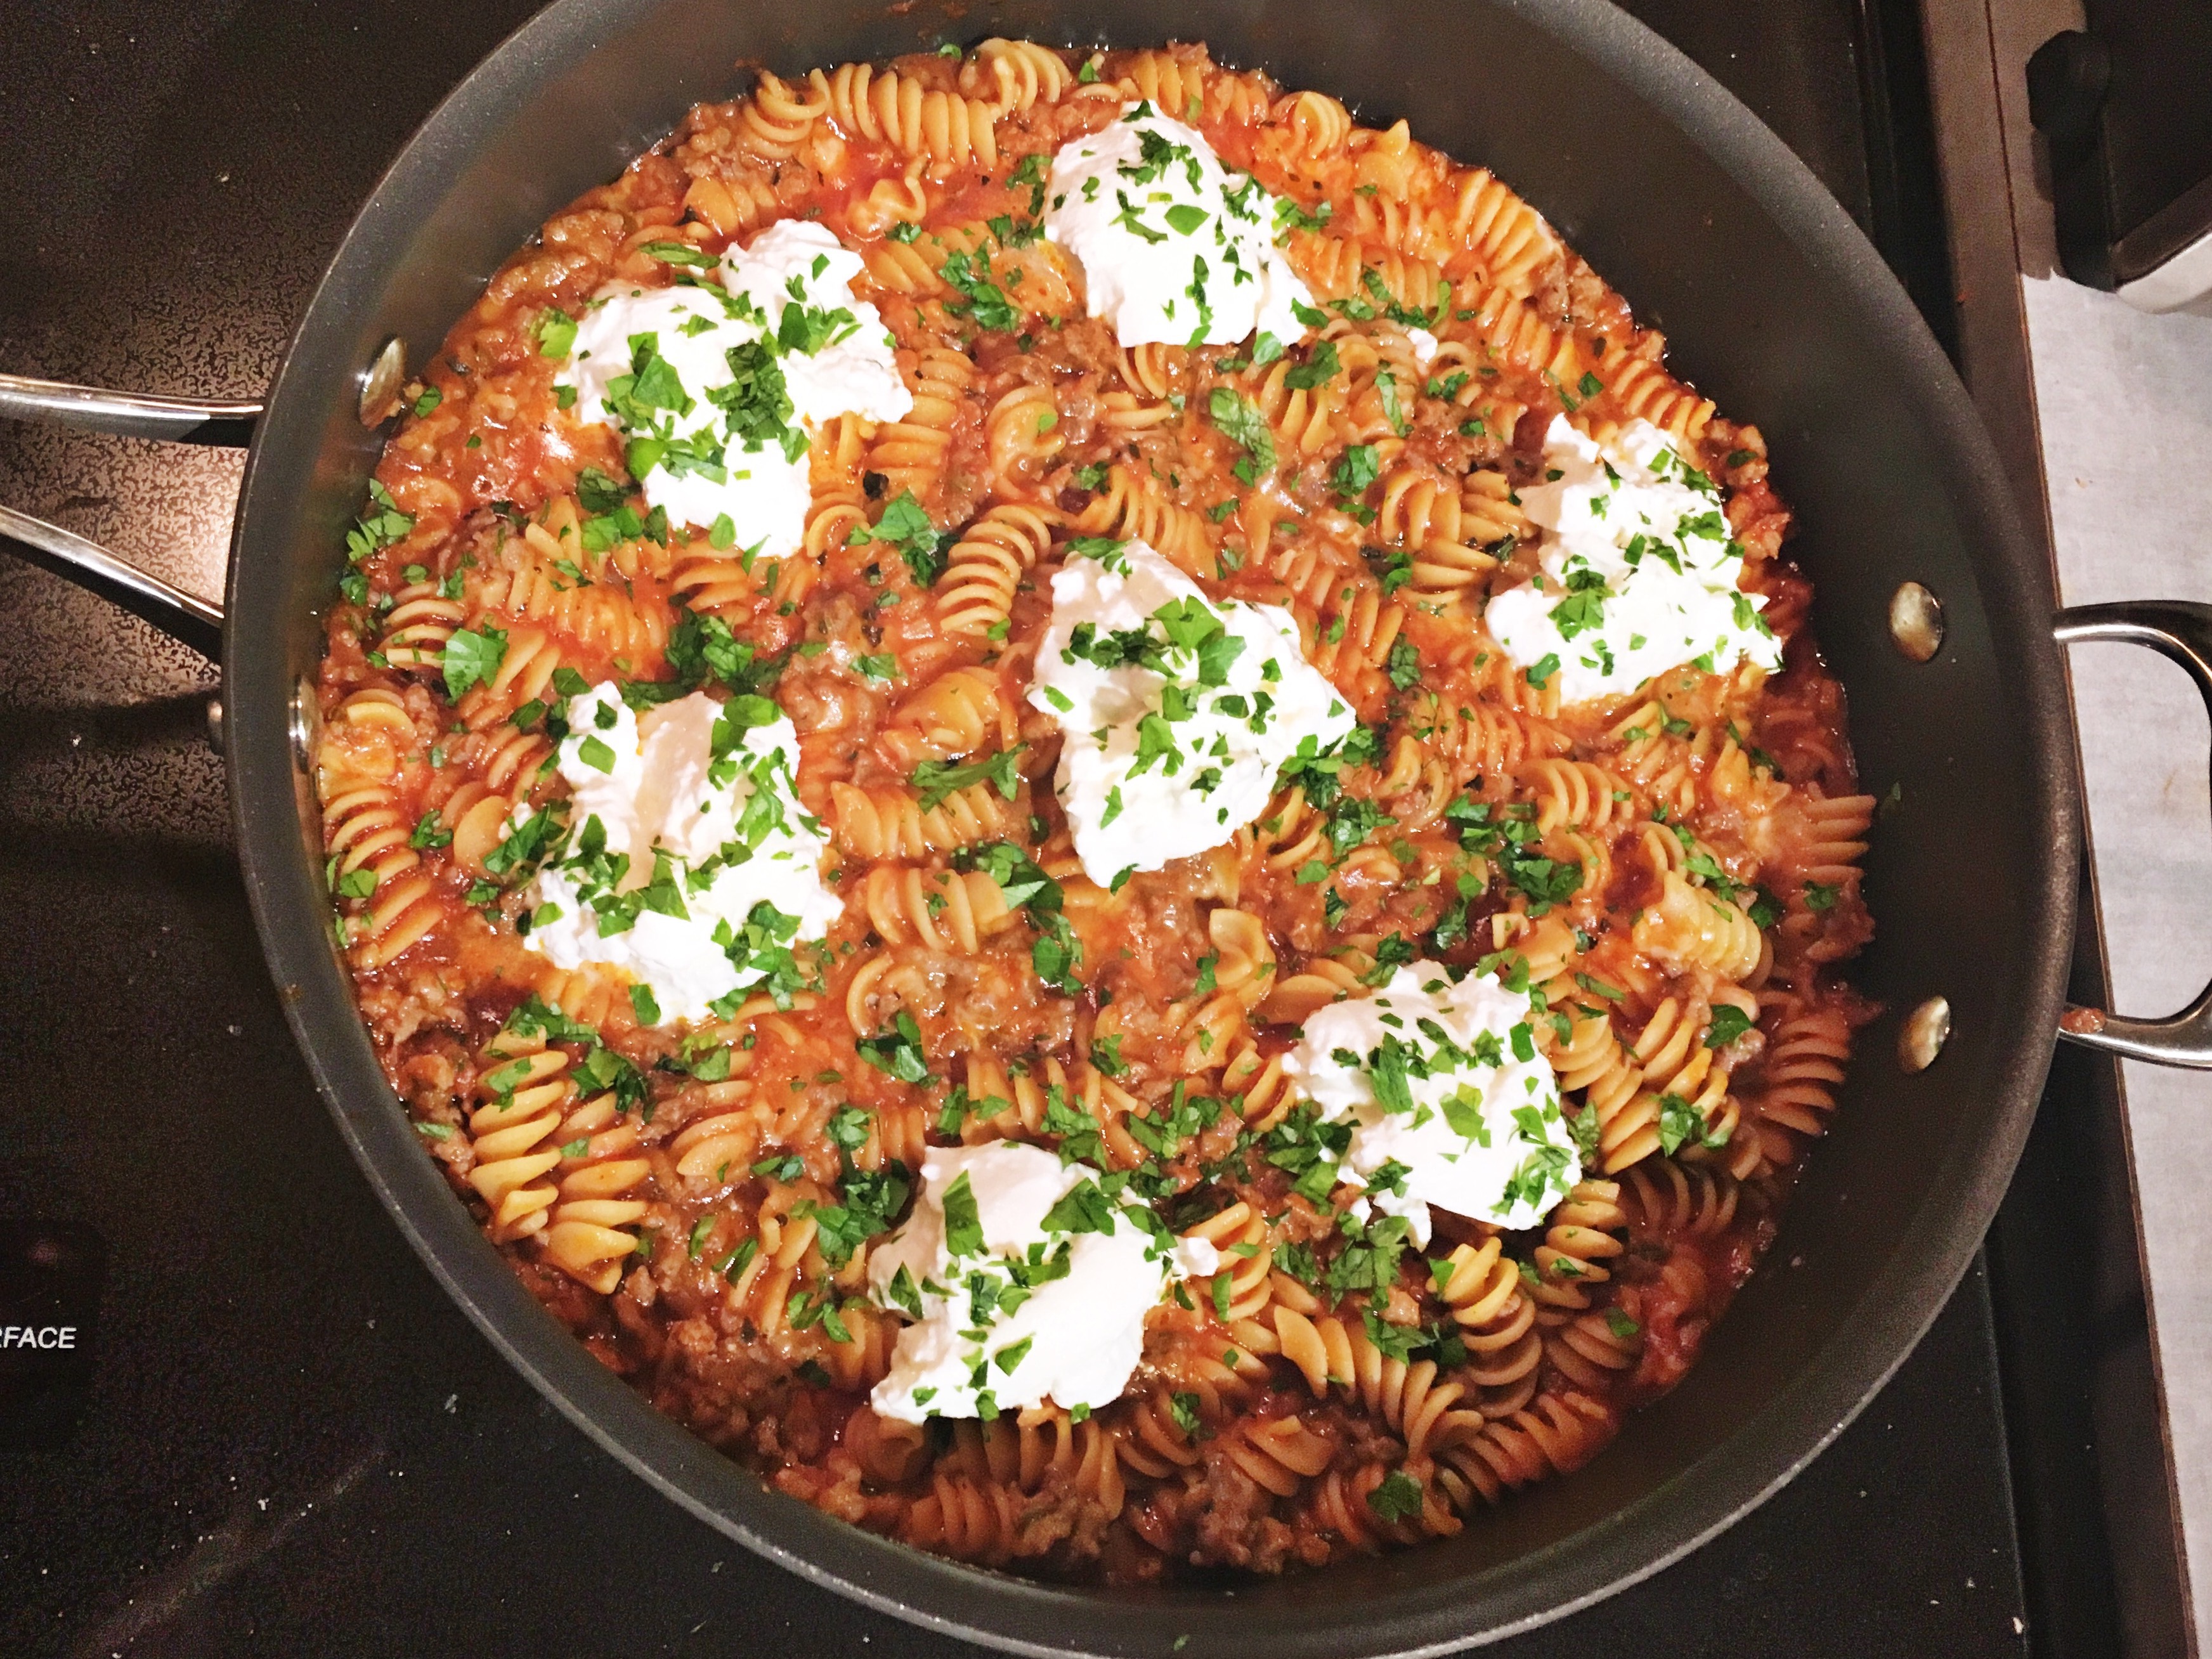
But just look at that goodness. I promise it’s worth the trip over to Damn Delicious, and whether you follow the original recipe or you take the liberties I noted above, you won’t be disappointed. 


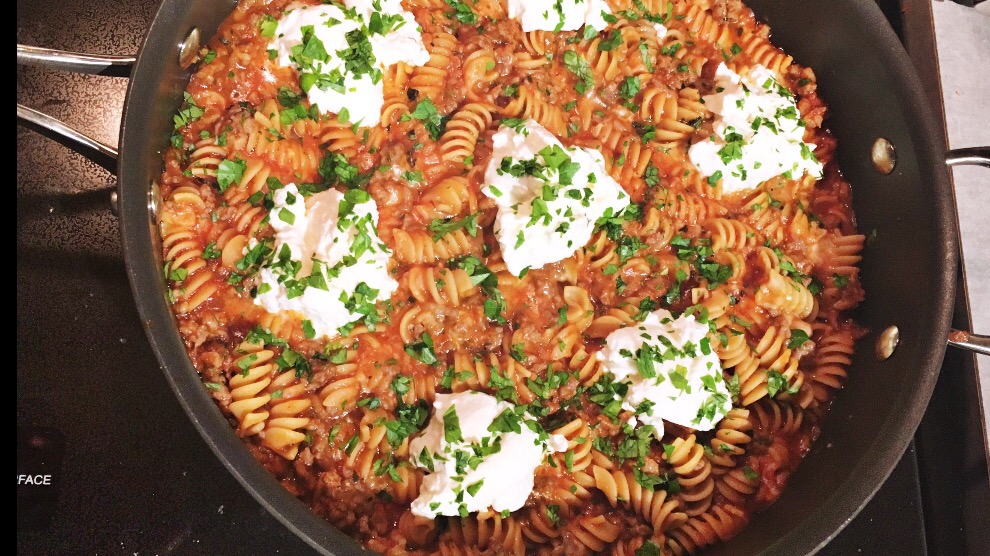
Once you’ve browned the sausage and let the noodles cook in the sauce, just add the dollops of ricotta, garnish with fresh parsley, and enjoy!

I’ll work on the computer situation and more regular postings as I get settled into my new schedule, but until then, it’s just me and my iPhone. We’ll get there!

    Buffalo Chicken Pasta

    Buffalo Chicken Pasta - After

    This version of buffalo chicken pasta was originally a “what’s in the pantry?” dinner on a night we had leftovers to eat and weren’t really feeling any of them. I not-so-secretly love a good pantry dinner, because it makes me feel like I’m on Chopped, without the pressure or crazy ingredients. I’ve made it a few different times in a few different ways depending on what we had around, so this is the most recent version.

    The best part about this recipe is you can adapt it to creatively use a little bit of leftovers or a pound of leftovers – it’s completely up to what you have around, the time you want to spend, and what you’re going for that time around. 

    You’ll need:

    • pasta (whatever you have around, but we like penne or spaghetti)
    • leftover shredded buffalo chicken (from when you made this recipe)
    • alfredo sauce
    • plain Greek yogurt
    • milk
    • shredded cheese (mozzarella, your favorite Italian blend, whatever you have around)
    • hot sauce/buffalo sauce if you like the extra heat
    • breadcrumbs (if you have them)

    Cook your preferred amount of pasta according to the directions on the box and set aside to drain. Tonight we were making a baked version, so we used about half a box of penne.

    In a sauce pan (or the pot you just cooked the pasta in, because who wants to dirty another dish), warm the alfredo sauce (we used about 1/2 the Trader Joe’s jar) and chicken together with a bit of milk to thin it out, and if you like the heat, a tablespoon or so of hot sauce or buffalo sauce over low heat. The added dairy ingredients can sometimes tone down the spice of the buffalo, so we like to kick it back up a notch. 

    I like to add some plain Greek yogurt for the extra tang and some lightened-up creaminess. If my husband would touch it, I’d use blue cheese for the tang, but no go. Throw in a handful (or two, no judgement here) of your shredded cheese. If you don’t have any alfredo sauce around, we’ve done this with just the milk, yogurt, and cheese, and it still totally worked, just use a little more of each. The sauce will thicken up a little as it warms on the low heat.

    If you’re not doing a baked version, you can stop here, but the baked version is our favorite.

    Heat your oven to about 400 degrees and spray your dish with cooking spray. Combine your pasta and sauce in the baking dish, and top with more shredded cheese and breadcrumbs, if you have them. Bake for about 15 minutes, or until you see the edges bubbling. We like to finish with the broiler for a few minutes to brown the cheese and breadcrumbs.

    Buffalo Chicken Pasta - Bowl

    I like to top mine with some avocado, because I like to have the contrast of the cool avocado with the spicy buffalo chicken. If you’re feeling extra decadent (or used that extra hot sauce I warned you about), you can give it a drizzle of ranch or blue cheese to cool it off too.

    Don’t you love easy ways to use your leftovers that aren’t the same old thing?

    signature copy2


    Slow Cooker Buffalo Chicken

    You know that buffalo chicken recipe you’ve probably seen 4,000 versions of on Pinterest? Maybe you’ve tried it and it’s already in your rotation, or maybe you’ve just looked at it and wondered if it’s really good enough to show up on your page over and over. It was one of the first things we tried when we first bought our crockpot, and it’s been a favorite ever since. It’s beyond easy, perfect for football games or any other night of the week you’re looking for a little heat, and it’s become mandatory whenever my husband’s office has a pitch-in. When he takes it for a pitch-in, we just throw everything in before we go to bed so it cooks all night, and it takes all of 5 minutes to toss in before you leave for work in the morning.

    Buffalo Chicken - Potato

    You’ll need:

    • 3 lbs boneless skinless chicken breasts (we use frozen, but raw is fine too)
    • 1 12 oz bottle of buffalo sauce
    • 1 packet ranch seasoning
    • 2 tablespoons butter

    One thing to note, if you’ve grabbed the bottle of Frank’s Extra-Hot Buffalo Sauce thinking it can’t be that different, it’s HOT. Really hot. So hot we could barely handle it hot, and we love heat. Consider yourself warned.

    Place your chicken breasts on the bottom of the crockpot, sprinkle on the ranch seasoning, and dump in the bottle of buffalo sauce, making sure to coat the chicken breasts. That’s it.

    Cook on low for about 8 – 9 hours, or on high for 4-6. The meat is ready when it shreds easily. After you’ve shredded the chicken, mix in the 2 tablespoons of butter and let it cook another 20-30 minutes. If I’ve been at work, I usually just switch it to warm until we’re ready to eat.

    We put it on baked potatoes this time around, but it’s great on sliders, nachos…the possibilities are pretty much endless. We usually sprinkle a bit of cheese on top (whatever you have around), and I like a little bit of avocado to balance out the heat. A drizzle of ranch or blue cheese dressing is also a good way to add a bit of cool creaminess.

    Another perfect thing about this recipe is that it’s great to throw in the freezer and pull out a container when you aren’t sure what to do for dinner. This brings me to my favorite round 2 use for this recipe: Buffalo Chicken Pasta. Stay tuned!

    signature copy2


    Grandma Lou’s Chili

    Everyone has those recipes they grew up on and were handed down through their family. We think my grandma got this recipe from her mom too, but we aren’t positive. My grandma was hardly known for her cooking – our fond family meal memories pretty much always involve restaurants.  If there’s one thing Louise got right though, it was her chili. So much so, that when my mom and dad were getting married and my mom was moving from Terre Haute to Indianapolis, one of the things she copied down to take with her was Grandma Lou’s chili recipe. She still has that piece of notebook paper from 1983, stained from years of use, and now laminated to preserve it for the years to come.

    Chili - recipe

    When I moved to my first apartment after college, I copied the recipe onto my own little piece of notebook paper. Whenever either of us makes the chili, we diligently take out our respective pieces of notebook paper, even though I’m pretty sure we both know the ingredients by heart.

    This chili is a serious crowd pleaser. I have one good friend in particular who I can count on to finish three bowls every time he comes over and there’s chili on the stove. It’s become a favorite when our friends come over for bonfire nights and football games, and will be the easiest dinner party you ever throw. Simple steps, and it pretty much just hangs out on the stove until you’re ready for it.

    Note: The recipe below is for a double batch based on my grandma’s original recipe, with a few tweaks from my mom and I over the years. It’s RARE for us to make anything smaller than a double batch, because you’ll want to have leftovers around. (When people are coming over, I make a triple batch, if not a quadruple – seriously, it’s that big of a hit.) Plus, it freezes beautifully, so you can take some out for a round two on a night you don’t feel like cooking.

    Chili - ingredients

    You’ll need:

    • 2 lbs ground beef
    • 2 small onions
    • 1 quart tomato soup
    • 1 big can/bottle of tomato juice (how much you use is up to your personal preference, see below)
    • 2 cans of chili beans (officially: Brooks Hot Chili Beans)
    • 2 tablespoons Mexene chili powder
    • 1 teaspoon salt
    • 1 teaspoon cumin
    • pepper and cayenne pepper to taste
    • your preferred chili fixings

    Start by either mincing your onions or throwing them in the food processor. I prefer the food processor, because it makes the onion practically melt into the ground beef. Combine the onion and ground beef in your pot and brown together. Drain the mixture.

    Add in your tomato soup. This is where the original recipe calls for one can of water to the one can of soup, but I don’t typically use the canned soup/water method. I like to make up for the missing water with the tomato juice, because it adds more flavor than the water would alone and makes for a heartier chili. If you want to thin things out a bit at this point, splash a little juice in, otherwise it can wait until later.

    Now for your spices. Add in the Mexene chili powder, cumin, salt, and pepper(s). I usually go for a little bit of black pepper, and then a solid amount of cayenne for the heat. The balance/combo is up to your tastes. For the chili powder, to quote my mother, “If it isn’t Mexene, don’t waste your time.” This is one ingredient my grandma and mom were both serious about, and if it ain’t broke…

    Simmer for 15 – 20 minutes.

    Add in your chili beans and tomato juice. Officially, a single batch of chili gets half the big can of tomato juice, or the whole can for a double. We grew up on a more “soup-y” chili, which I learned was very different from the thicker chili my Texan husband grew up on when he was in charge of making it one night and I came home to meat sauce. We’ve found our happy medium, so add according to your preference, keeping in mind it’ll thicken up a little over time.

    Simmer another 10 minutes.

    If you aren’t ready to eat quite yet, turn it to low and just let it hang out. Top/mix with your favorite chili fixings. I prefer it on top of macaroni noodles with some cheese and a little bit of sour cream or plain greek yogurt, depending on what I have around. My husband prefers Fritos, a whole lot of cheese, and ketchup. (Yes, ketchup. No, I don’t get it either.) If you’re making it for a party, set up a toppings bar and let people do their own thing, and I promise you, everyone will be happy.

    Chili - final

    This chili was made Sunday during the championship football games, and naturally football games and a good Indiana chili call for a good Indiana beer. This one was a Farmer’s Daughter Wheat from People’s Brewing Company in  Lafayette, Indiana. My mom’s dad was a farmer, so it always seems fitting when I have a Farmer’s (grand)Daughter Wheat, especially with my grandma’s chili.

    Grandma Lou

    This picture was taken at my mom and stepdad’s wedding back in October 2007. I realize I look like a child, but I was 22 and a senior in college. My middle name is Louise for my grandma, and I can’t help but smile whenever I make her chili. She passed away this past March, but her chili will live forever through us. We love you, Grandma Lou, a bushel and a peck.

    signature copy2