When was the last time you made homemade valentines for your friends and family? If you haven’t done yours yet, it’s not too late! I decided that this year I’d do some DIY instead of agonizing over the options in the card aisle. I made them using one of my favorite crafting techniques: heat embossing!
I was first introduced to heat embossing when my friend Erin did her rehearsal dinner invites a few years ago. When it came time for my wedding, I quickly learned that doing my own gold heat embossing had all of the wow-factor, without the price tag of printing with gold foil. I loved it so much, we used it on our save-the-dates, and then we kept the theme going on our ceremony programs.
Once you buy your initial supplies, heat embossing is super cost-effective. The heating tool is less than $25, the powders are $5 – $6 (and one little container will last and last – we still have PLENTY from the wedding), and then all you need is the rubber stamp of your choice, and an ink pad. I prefer the watermark pad, but you can also match your ink color to your embossing powder.

For my valentines, I made a quick stop at Paper Source, aka, my happy place. I’m obsessed with Paper Source, and doing all my wedding crafts only made the love grow. This time around, I snagged these fun valentine stickers, heart doillies, a “love” stamp (the little hearts were leftovers from our wedding), and a grabbed a pack of cards.
Heat embossing is so easy, but I do recommend making sure you have extras, because slip-ups happen. Let’s get started.

I like to use paper plates, because it contains the loose powder and makes it easier to go from one to another. The key to heat embossing is getting the powder on before your stamp ink dries, so it’s good to be able to quickly go from one to the next.
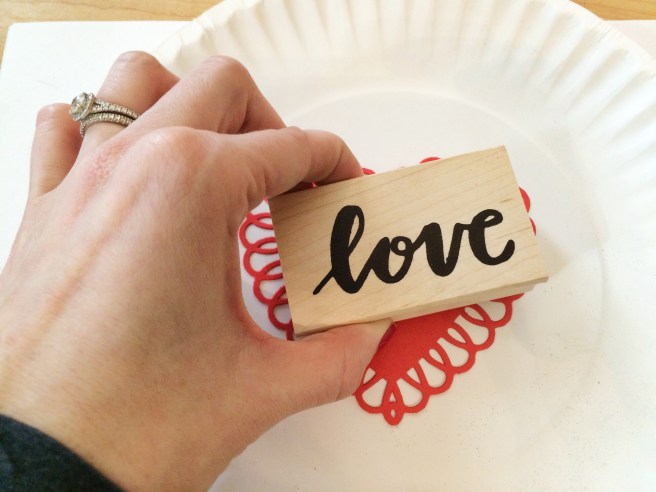
When you place your stamp, you want to be firm without any wiggles, because your embossing powder will stick to any place there’s wet ink. This is also why I prefer the watermark ink, because if there is a little slip-up, you can brush off the powder and the translucent ink will dry without being as noticeable.

Dump on your powder, and make sure there’s enough to get a good coating. I use more than enough, because as I mentioned above, I like to be able to move quickly from one to the next without “refills.”

When you pick up the card, the powder that didn’t stick to any ink will fall off. Be sure to tap/blow off any excess (I also keep cotton swabs around for the tiny spots), because any leftover powder will be heated and adhere to your card. Now, here’s where the magic happens.


I like to get multiple done in a sort of assembly line, then they can all be heated in one go. Turn on your heating tool, and hold it over the powder. After a few seconds, you’ll see it turn from the loose powder to a shiny, raised print of your stamp. So cool, right? It’s like a magic trick every time.

I used a glue stick to attach the heart doillies to my cards, then got to work on the insides.


A simple message and some of the cute stickers inside (how fun are those gold lips?!), and you’re good to go!

For those of us who can’t write in a straight line or visualize spacing, the Lettermate is a great little find for addressing envelopes. After trying to corral a million different pieces of paper with people’s addresses during the wedding, my husband got me this adorable address book from May Designs with our married monogram for Christmas, and I love it. May Designs are some of my favorites, because you can customize your planners, address books, notebooks, anything, and they’re so reasonably priced.

It’s not too late to still show some love to your family and friends with a little homemade Valentine’s Day fun!
Happy Valentine’s Day!